Create an environment
An environment is where your applications run, with its own pool of CPU, memory and storage.
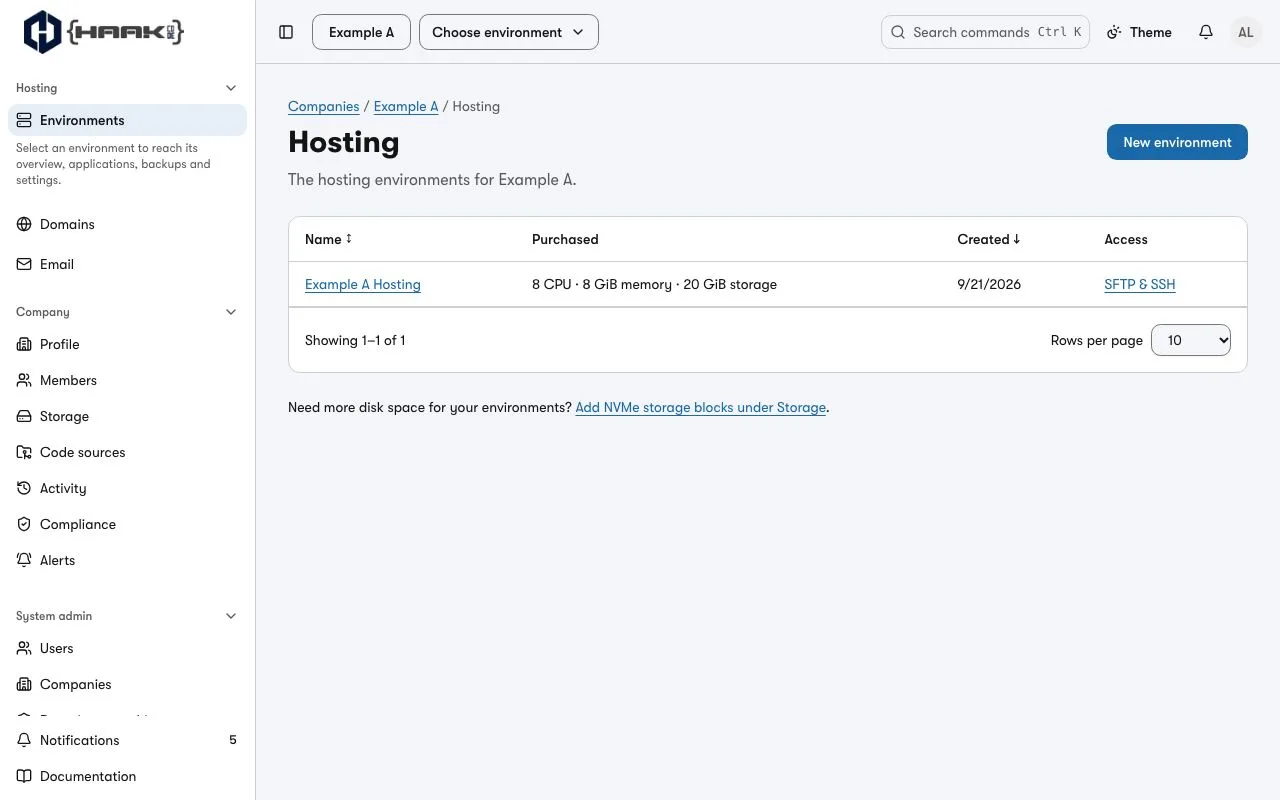
- Open Hosting → Environments and choose New environment (Set up a website when your company has none yet).
- Enter a Name. It is shown to your members and names no address.
- Review the generated Permanent identifier. Choose Edit only if you need a different one. Use lowercase letters, digits and hyphens. It is reserved permanently once created. If the identifier is already taken, the panel opens the field so you can change it.
- Choose a Package. The dialog shows what it buys and what it starts with. Empty Environment starts with capacity and nothing else, ready for applications you add yourself. The small-sites package starts MariaDB and Redis. You add WordPress sites individually from Add application.
- Leave Kind at Live environment, or choose Test environment for a protected copy to restore into and check before it goes live: see Test a site, then make it live.
- If the dialog says Billing details are needed first, choose Add your billing details. Save the missing details to return to the same draft. If you cannot edit billing, ask a billing administrator.
- Choose Create environment (Create and start billing when your company is already billed: the package's monthly price starts the moment the environment exists).
When you start with Set up a website, the panel opens application setup after creating the environment. If the package already includes website applications, the panel opens the environment overview so you can see their progress.
The environment’s Overview says Applying while it is set up in the background and Ready: every change is applied. when it is done. You choose no server: placement is ours.
Next
- Choose a size and read what a package buys: Your environment.
- Add your first application: Add an app or static site.
- Create one through the API: Your environment.